Creating Index from UI
The user interface for Full Text Search is provided by the Couchbase Web Console. In order to proceed, you must have permission to log into the console, create indexes, and perform searches. For information on Role-Based Access Control, see Authorization.
The example provided in this section assumes that you have also loaded the travel-sample bucket: you will perform your Full Text Search operations on the data in this bucket. For instructions on how to load this sample bucket, see Sample Buckets.
Once you have the appropriate credentials, and have loaded the travel-sample bucket, access the Couchbase Web Console by typing http://localhost:8091 into the address field at the top of your browser and then hitting return.
The login screen appears as follows:
Enter your username and password, and left-click on the Sign In button. The Couchbase Web Console now appears, with the Dashboard for the cluster displayed:
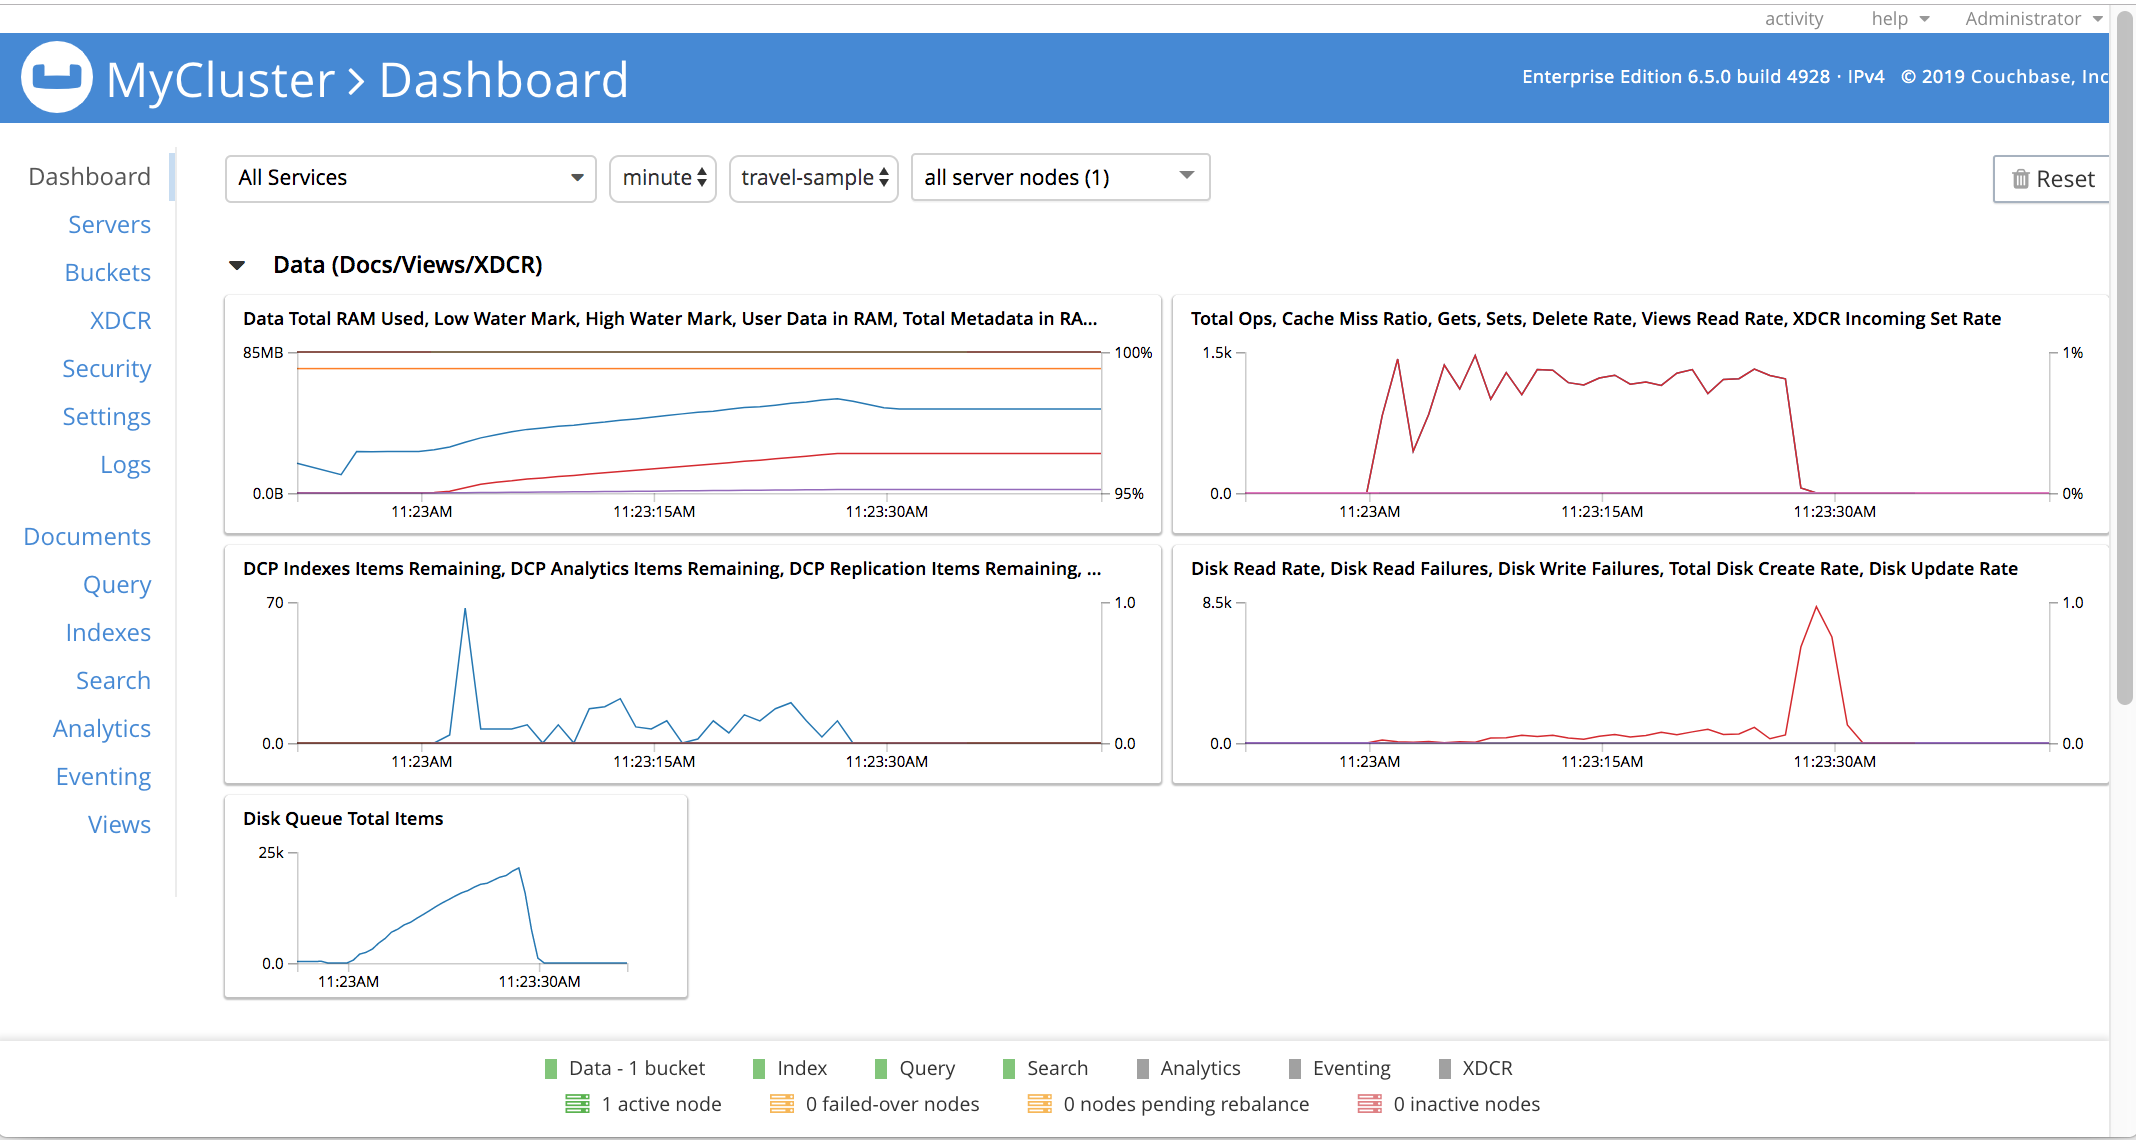
Note that the appearance of the main panel of the Dashboard varies in accordance with customizations that have been performed. For information, see Manage Statistics.
To access the Full Text Search screen, left-click on the Search tab, in the navigation bar at the left-hand side:

The Full Text Search screen now appears, as follows:
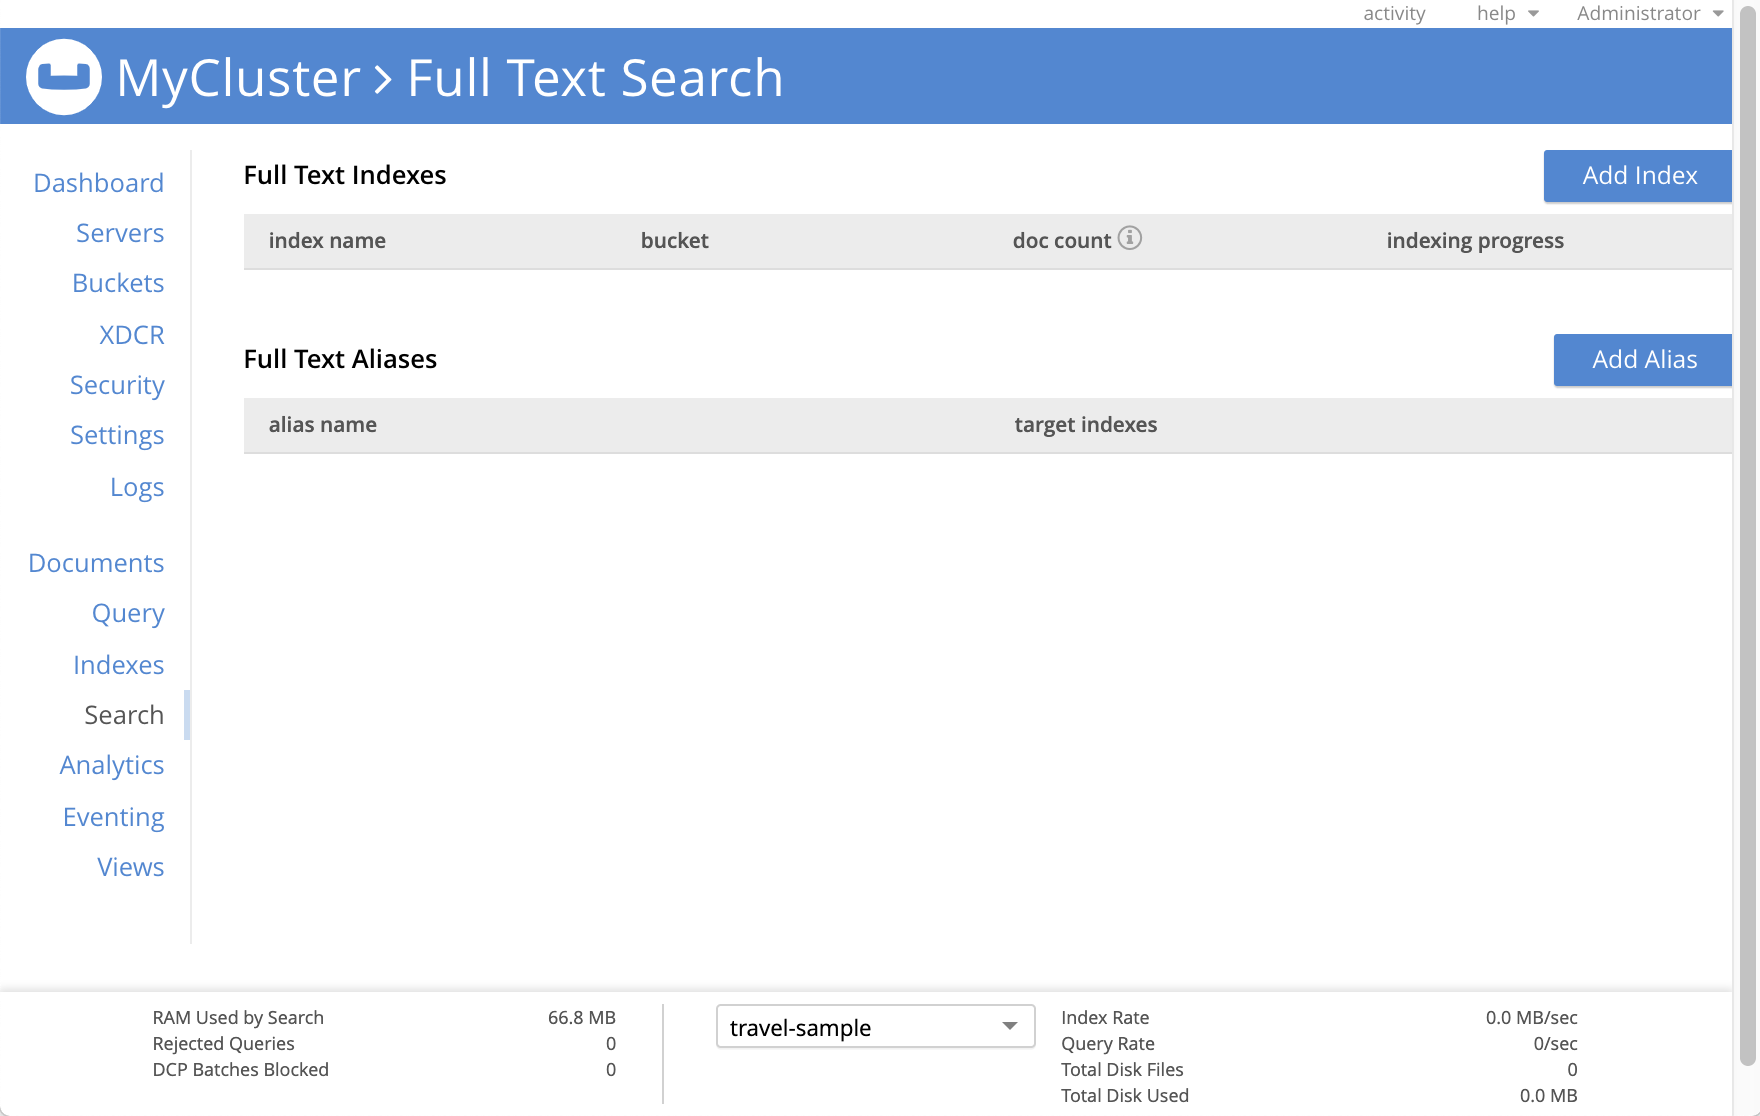
The console contains areas for the display of indexes and aliases: but both are empty since none has yet been created.
Add Index
To create an index, left-click on the Add Index button, towards the right-hand side:

The Add Index screen appears:
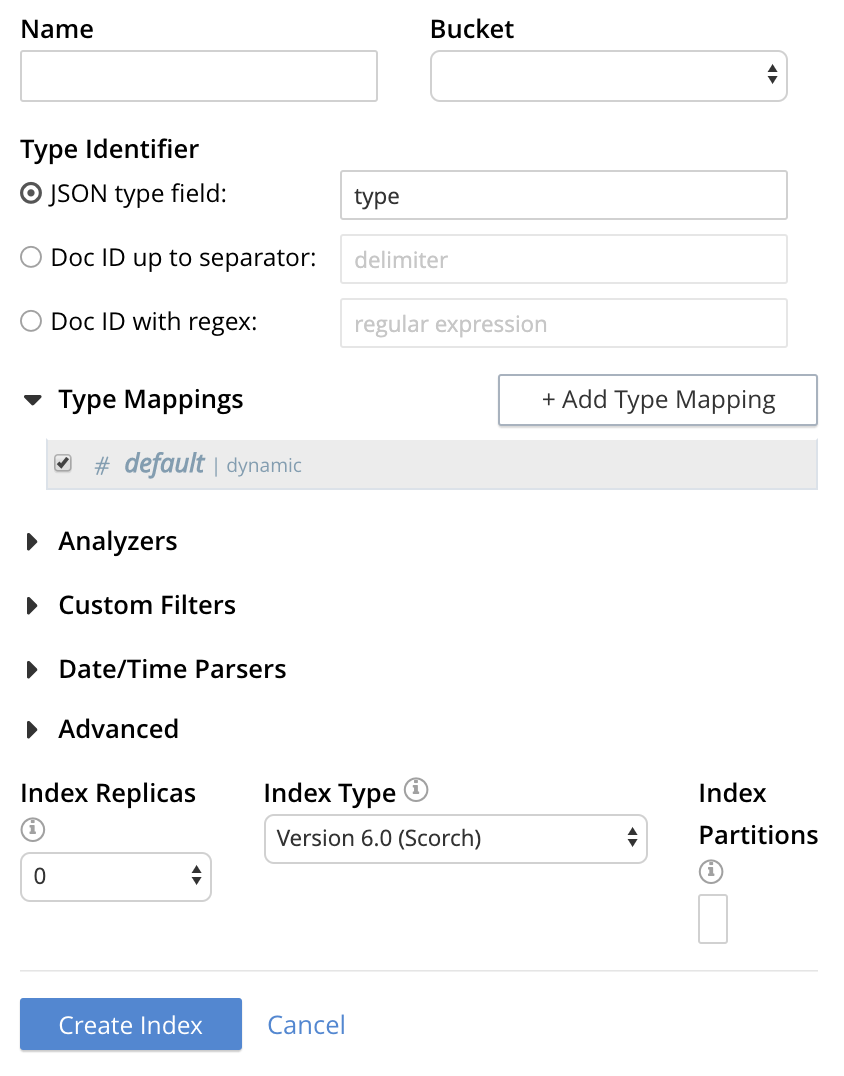
To define a basic index on which Full Text Search can be performed, begin by entering a unique name for the index into the Name field, at the upper-left: for example, travel-sample-index. (Note that only alphanumeric characters, hyphens, and underscores are allowed for index names. Note also that the first character of the name must be an alphabetic character.) Then, use the pull-down menu provided for the Bucket field, at the upper-right, to specify the travel-sample bucket:

This is all you need to specify in order to create a basic index for test and development. No further configuration is required. Note, however, that such default indexing is not recommended for production environments since it creates indexes that may be unnecessarily large, and therefore insufficiently performant.

Select this checkbox if you want the index to stream data from a non-default scope and/or non-default collection(s) on the source bucket.
To review the wide range of available options for creating indexes appropriate for production environments, see Creating Indexes.
To save your index, left-click on the Create Index button near the bottom of the screen:

At this point, you are returned to the Full Text Search screen. A row now appears, in the Full Text Indexes panel, for the index you have created. When left-clicked on, the row opens as follows:

Note the percentage figure: this appears under the indexing progress column and is incremented in correspondence with the build-progress of the index. When 100% is reached, the index build is said to be complete. Search queries will, however, be allowed as soon as the index is created, meaning partial results can be expected until the index build is complete.
Once the new index has been built, it supports Full Text Searches performed by all available means: the Console UI, the Couchbase REST API, and the Couchbase SDK.
The indexing progress is determined as index_doc_count / source_doc_count. While index_doc_count is retrieved from the search endpoint, source_doc_count is retrieved from a KV endpoint. In the event where one or more of the nodes in the cluster running data service goes down and/or are failed over, indexing progress may show a value > 100% as the source_doc_count for the bucket would be missing some active partitions